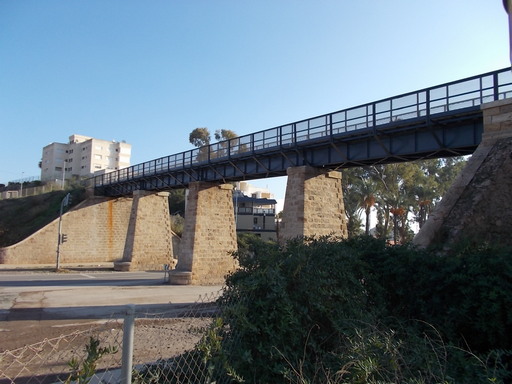
 | The bridge across Rambla de las Culebras which the goods trains crossed to get to El Hornillo pier. The ramp up to the bridge has been levelled and is now used as a marshalling yard. As the incline was so steep, the mineral trains had to be split into two. Even between the bridge and El Hornillo the track had an incline of 11 metres in 266 (1 in 24). | See map. |
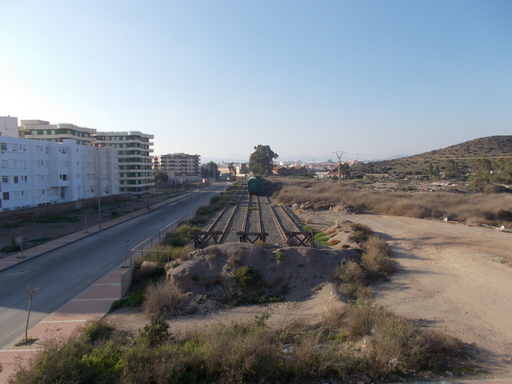 | Looking northwest towards the marshalling yard that was once the ramp up to the bridge. | See map. |
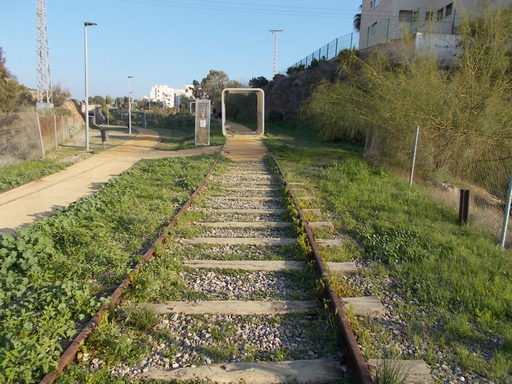 | The track to the unloading area of the loader. | See map. |
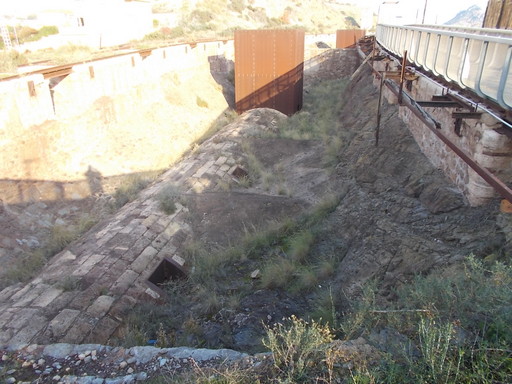 | Loader with a view of one of the tunnels through which passed the trains to the pier. | See map. |
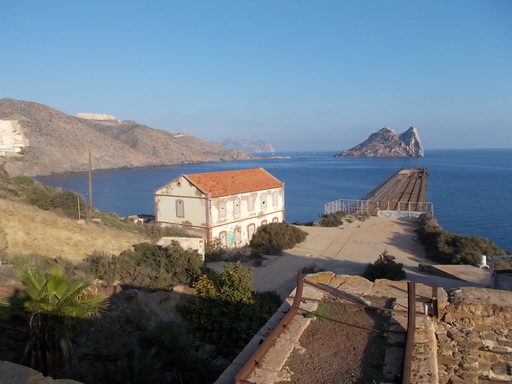 | View of the pier along which passed the iron ore trains to discharge into ships. The administration block can be seen on the left. | See map. |
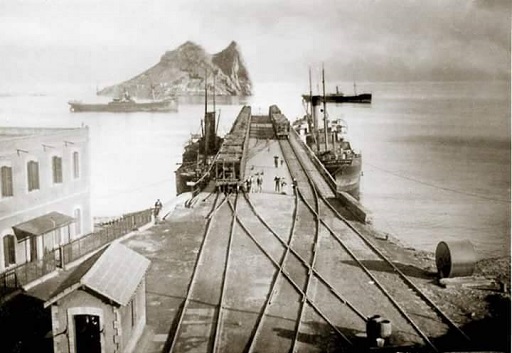 | The 'El Hornillo' pier where ships were loaded with iron ore. This is a very early photograph, probably by Gustave Gillman, and shows the pier before the third track was added. | See map. |
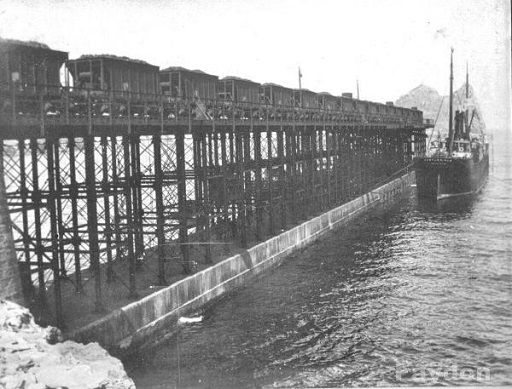 | Ship being loaded with ore. One can see the wagons on the pier. Photo: Gustavo Gillman. | See map. |
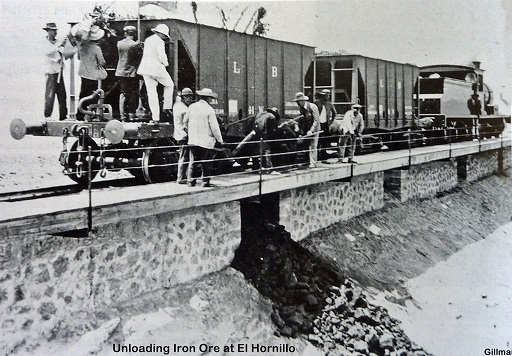 | Wagons loading iron ore onto the loader. This train is on the upper level so as to store the ore for when a ship is available. This photograph was taken on 12th August 1903 at the inauguration of El Hornillo, explaining the men in white suits! The wagons are the 35 ton 'Yanquis', LB signifying Lorca - Baza. Photo: Gustave Gillman. | See map. |
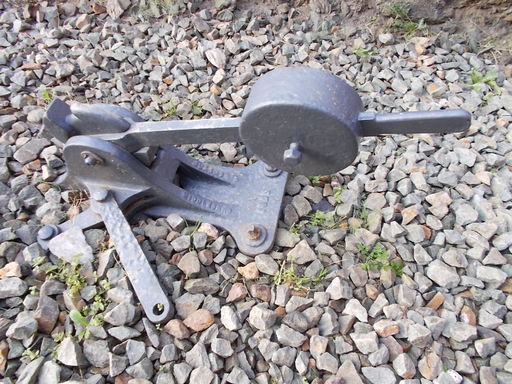 | Point changing lever manufactured around 1902 by The Anderston Foundry Co. | See map. |
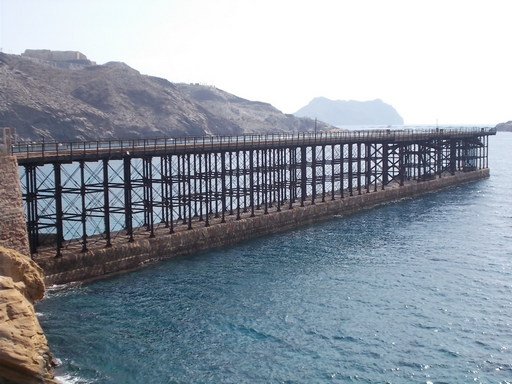 | The Hornillo loader. Ships would tie up either side and trains would discharge the iron ore via chutes (visible at the end of the pier) directly into the ships. | See map. |
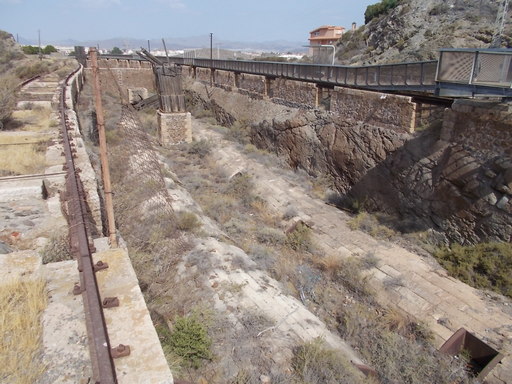 | The south loader. There were two hoppers and three lines. The tunnels below were where the trains left for the pier to load the ships. | See map. |
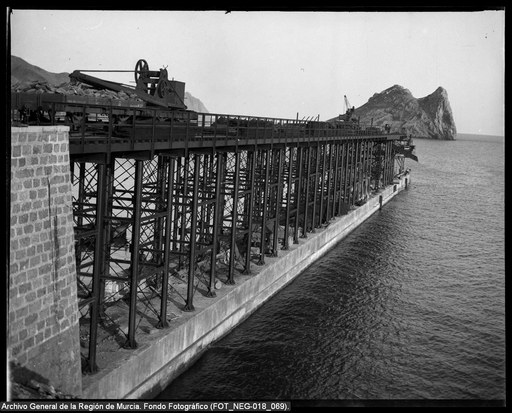 | Hornillo mole with shoot (chute). Gustave Gillman c.1902. | See map. |
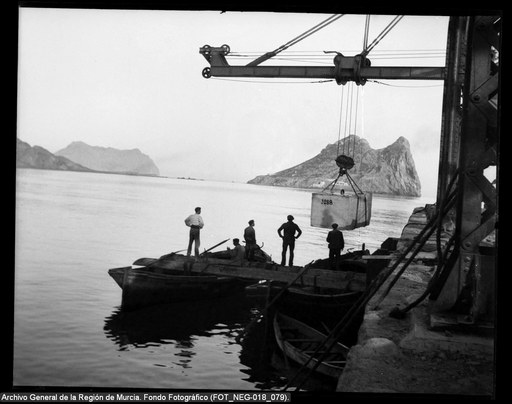 | Lowering the last block. Gustave Gillman c.1903. Archivo de Murcia. | See map. |
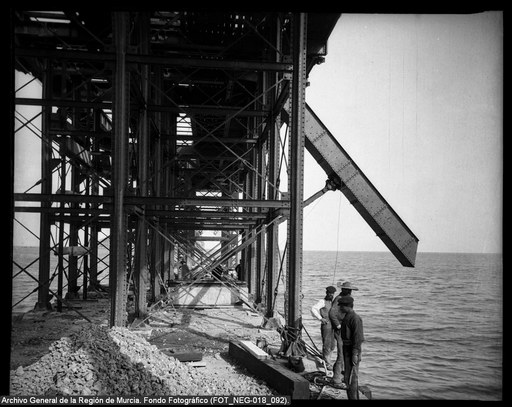 | Hornillo shoot (chute) lowered. Gustave Gillman. c.1903. Archivo de Murcia. | See map. |
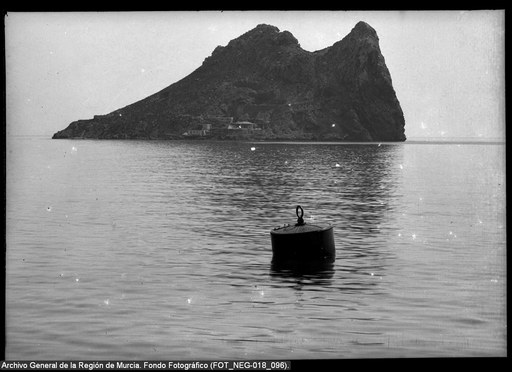 | Fraile & buoy. Gustave Gillman. c1903. Archivo de Murcia. | See map. |
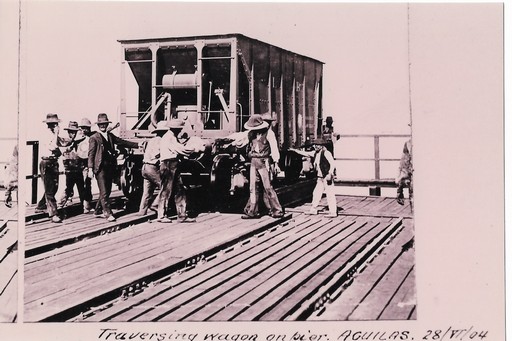 | Photo by Gustavo Gillman on 28th June 1904. Each wagon, once emptied into the hold of a ship, had to be got out of the way of the rest of the train so a shuttle was used which moved each wagon sideways onto the centre track out of the way of the rest of the wagons. | See map. |
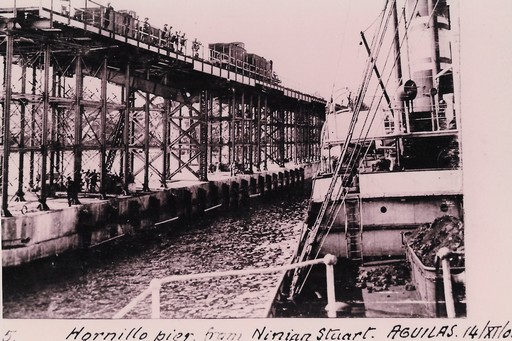 | El Hornillo Pier from The SS Ninian Stuart which was torpedoed and sunk in 1918. Photo: Gustavo Gillman 14/11/1903. | See map. |
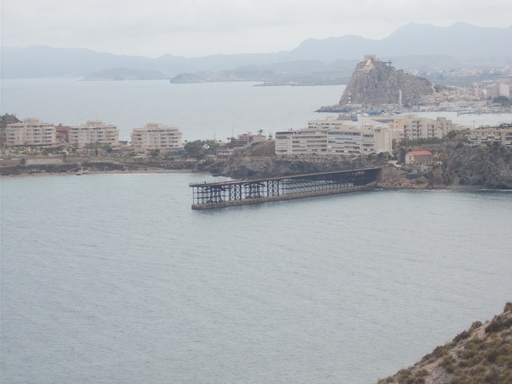 | El Hornillo pier from the north. | See map. |
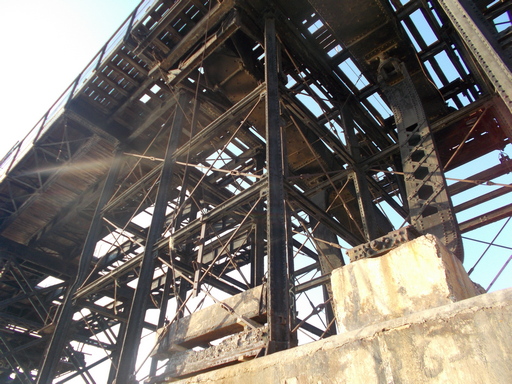 | Close-up of one of the 'shoots'. These could be adjusted so as to collect ore from either of the outside tracks. This meant that all four (with two iron ore trains) could be used to load a ship at the same time. | See map. |
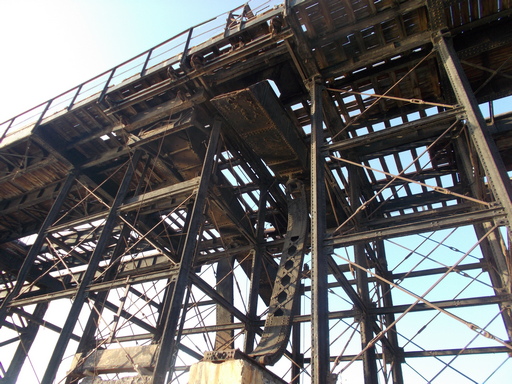 | Here it can be seen how the 'shoot' functions. As it is pulled forward the hinged support allows it to extend from the pier and be lowered. In this way, the top of the chute moves between the tracks on top of the pier. | See map. |
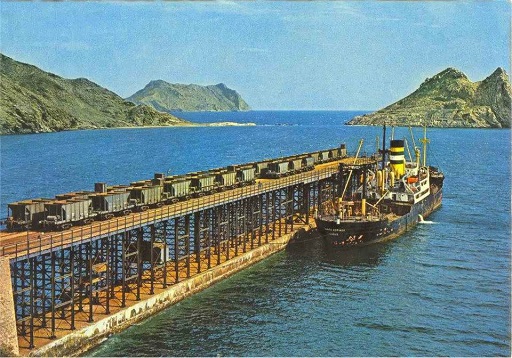 | A recent photograph of the pier whilst still in use. The 35 ton 'Yanqui' wagons can easily be seen, some with brakeman huts. It appears that the loading has finished as all of the wagons are empty, the ship is low in the water, and there are no workmen except one. | See map. |